Habitual washing can turn into disappointment if the washing machine draws a little water. Then the fence lasts a long time, and the program itself increases significantly. And when the cycle finally ends, you will receive poorly washed and wrinkled linen. Sometimes the problem is minor, but serious damage also occurs.
Why does SMA fill less water?
Once the washer still draws water, then there is a chance to do without major repairs. To understand what details and mechanisms to check, you need to understand the principle of operation of the machine. You load the laundry, fill the powder and press the "Start" button. The control module sends a signal to the intake valve to draw water. The membrane (damper) opens and launches water into the tank.
Meanwhile, a pressure switch (level sensor) controls the fence due to a change in pressure. Once enough is selected for the selected mode, the pressure switch sends a signal to the module and the process stops. Next, the washing begins.
Therefore, you need to check all the details that are involved in the kit. But first, it’s better to rule out simple causes of the problem:
- Weak pressure in the pipes. Open the tap and evaluate the pressure. Weak? Then it remains to wait for renewal. If such a problem happens everywhere, then it makes sense to install a pump.
- The inlet valve is partially blocked. The device is mounted on pipes for supplying and shutting off water. Turn the valve; it may have been accidentally twisted.
- The intake hose is pinched. Inspect the hose, maybe it is twisted or pinched by something. Resume the normal position of the hose.
- The filter mesh is clogged. To prevent debris and pieces of rust from appearing in the drum, a filter consisting of a fine mesh is located in the place where the hose is connected to the SMA housing. It retains small debris, so it can become clogged over time. It is necessary to clean the part.

- Self draining. Sometimes enough water gets into the car, but it does not linger in the tank. Why? This may be due to increased pressure in the pipes. Then the water is automatically sucked into them. To prevent the problem, install a check valve. Incorrect connection of equipment to the sewage system is also likely. If the drain hose is low, then the water, typing, immediately goes into the drain.
Take a look at the instructions. The drain hose should be 50 cm above the floor. If this is not the case, reconnect the washer or contact the wizard.
To connect new equipment, it is better to contact a specialist so as not to lose the warranty. Damage due to improper connection to the water supply system is not a guarantee case (if the work was carried out independently).
Have you checked the above items? If the problem persists, then it is worth checking the following details:
- Inlet valve. Firstly, it could become clogged, and secondly, the electrical part could break. Then the valve membrane does not open completely, which leads to poor flow.

- Pressostat. Failure or incorrect operation of the sensor leads to the fact that the control module receives incorrect signals. As a result, the machine pours a little or a lot of water.
- Pump (pump). Blockage or partial blockage of the pump leads to incomplete drainage of fluid from the tank. The pressure switch controls the amount of water, so the machine cannot take more than what the program requires.
- Electronic board. Broken wiring, burned tracks lead to the failure of individual mechanisms. For example, the command to open the filler valve does not work.
The reasons were sorted out, it remains to find out how to restore the normal operation of the equipment. You will need a small set of tools, capacity and a determined attitude.
Inlet filter cleaning
Start with the simplest. Turn off the supply valve completely, unplug the machine, substitute the container and disconnect the hose from the washer body. Further:
- Using pliers, remove the net from the nest.

- Rinse the filter under the tap.

- In case of severe blockage and rust, immerse the part for half an hour in a solution of citric acid.
After such procedures, the filter will be like new. It remains to put the mesh in place and connect the hose. But if after inspection it turned out that the filter is clean, then do not rush to connect.
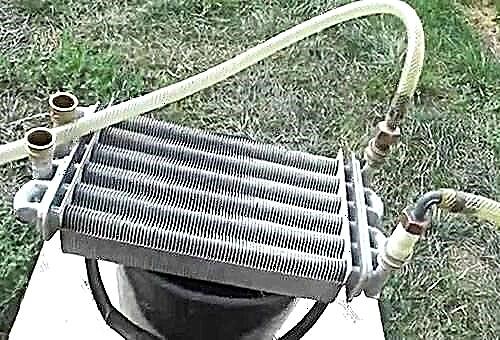
Checking the intake valve
A little further is the solenoid valve. The item can be cleaned or replaced; repair does not make sense. In models of some manufacturers, for example LG, there are two inputs for supplying hot and cold water. Then the valve is not single, but double. Therefore, it is better to disassemble and check the part, and then buy a replacement.
To check for blockages, do this:
- Having unscrewed bolts at the back, remove the top cover of СМА.
- Disconnect the wiring of the part, unscrew the mounting bolts.

- Disconnect the hoses leading from the valve to the powder receptacle.
- Inspect and flush all items.
To diagnose the electrical part, you can use a multimeter or a voltage supply of 220 volts. What to do:
- Set the multimeter to ohmmeter mode.
- Connect probes to valve coils.
- A healthy element will show from 2 to 4 kOhm.
- Also connect the terminal sections to the contacts, which on the other hand are equipped with an outlet. Turn on the power outlet to supply 220 volts.

- If the membrane opens and water enters, the device is in good condition.
In case of breakage, buy a similar item in the store and reinstall.
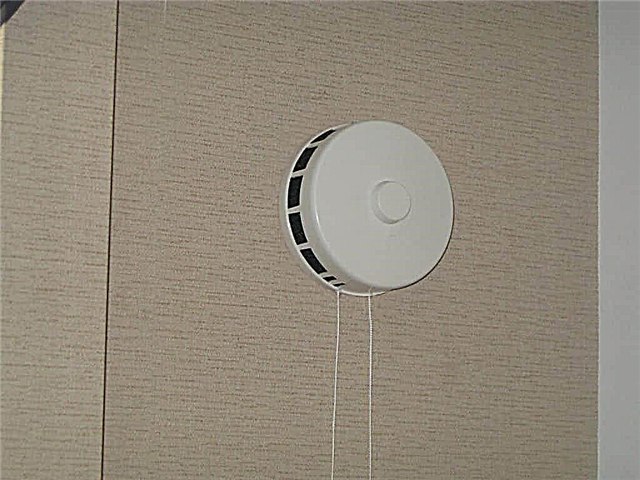
Level Sensor Replacement
The principle of operation of the pressure switch is such that the tubes leading to it capture a change in pressure in the tank. As a result, the membrane inside the part bends and closes the switch. So the module “learns” that it is time to turn off or turn on the water supply. The cause of the problem may be a clogged tube or a broken sensor.
How to be:
- Turn off the inlet valve and the electricity supply.
- Remove the top cover.

- Locate the pressure switch (at the top of the side wall).
- Disconnect the wiring from the sensor, unscrew the mounting bolt.

- Inspect the tube for clogging. Blow it in.
- Can you hear the clicks of the switch? So the item is working.

Pump inspection
When washing, the liquid from the tank is drained several times - before rinsing and spinning. But if it does not completely go into the drain and some part remains in the tank, then the machine cannot properly assess the amount of water intake. We are not talking about a complete breakdown of the pump, but about a partial blockage of the pump. What could have happened:
- The impeller is blocked by a foreign object.
- Pump or drain pipe clogged.
Proceed in stages:
- Remove the base panel or small door under the hatch.

- Substitute the container.
- Unscrew the filter.
- Wait for fluid to drain.
- Clean the filter and look into the seat.
- The impeller is a little deeper. Check if there is any foreign object (coins, threads and hair on the axis).
Now you need to get to the pump. If your model has a removable bottom, turn the machine on its side and proceed. Not sure where the pump is located? Then it’s easier to remove the back panel and see. If the pump is closer to the front, you will have to dismantle the front wall.
How to check items:
- Disconnect the pump wiring.
- Unscrew the fasteners.

- Turn the pump counterclockwise, remove it from the cochlea.
- Check items for clogging.

- Unscrew the pipe clamp with pliers.
- Remove it and clean it from debris.
After cleaning, reassemble all parts into place. In the future, carefully watch what you load into the drum. Coins forgotten in pockets, small decorative elements remain in the washer and fall into the drain, blocking or breaking internal nodes.
Dismantling the control module
All that a non-electrician user can do is to visually inspect the board. Therefore, we describe the steps for disassembling the control panel:
- Remove the powder tray by pressing the latch in the center.

- Remove the screws around the perimeter of the panel.
- Release the latches using a slotted screwdriver.
- Carefully disconnect the panel by turning off the wiring one at a time (take a photo of the pin arrangement in advance).

- The board can also be fastened with latches that need to be pressed.
In principle, it is not necessary to charge a fee. You only need to inspect the surface for damage and burns. Then we can say for sure that the reason is in the board and repair is required.
These types of damage are possible in the washing machine. We hope you manage with the usual cleaning of the blockage. But even in the case of disassembling the case - do not worry, recommendations will help eliminate the problem.